Tuesday, October 25, 2011

Me with my new rear tires/wheels.  The picture doesn't do them justice.  The new tires and wheels look really good  up close and personal.  The tires were bandag's and ran $346 and change plus tax each, mounted.  The new wheels were $145 each plus tax.  I got 6 of each.  I should be set for quite a few years as far as tires go.   All to together a little over $3 grand out the door.

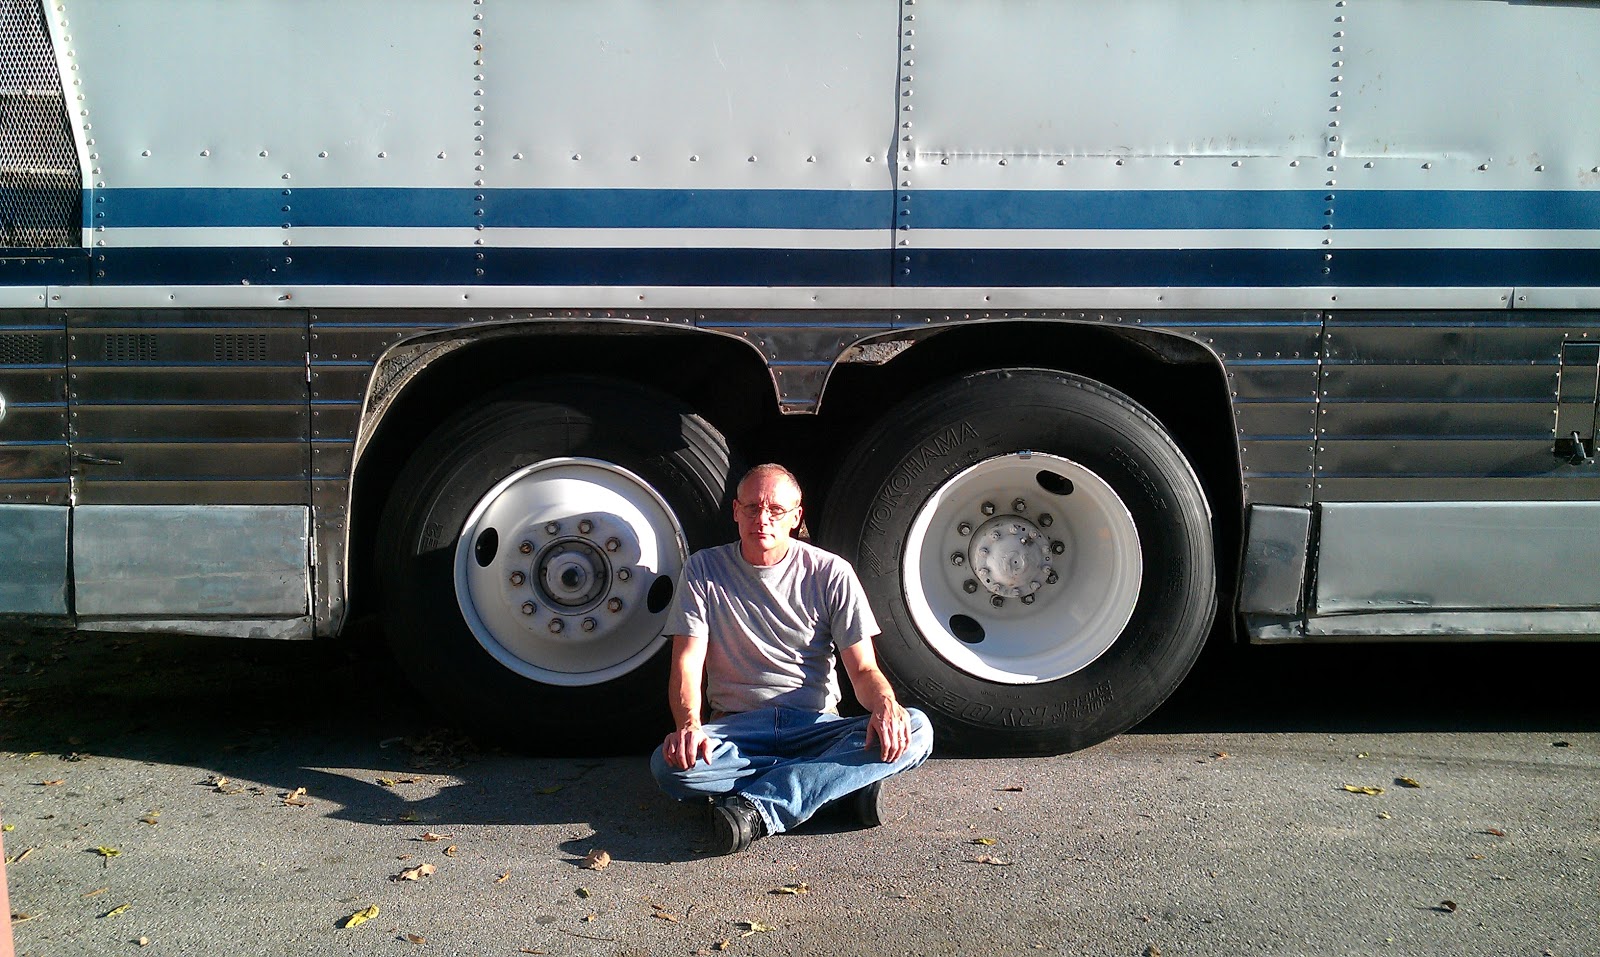
The guys at Bob Somerel Tire in Winchester Ky were absolutely great.  On my initial visit the guy worked with me for almost two hours answering my questions and pricing tires.  He also gave me a tour of their recap operation.  I found that very interesting and played a big part in my final decision to go with bandags on the rear.  The two guys that did the change out today were professional and knew what they were doing.  They both also answered any questions I had.  None of this was anything like I have ever experienced before when buying tires for my car.  The icing on the cake was when they pulled out the torque wrench to torque my studs.  They did the same to the Kenworth they worked on before my bus.

In the process of the change out though, they showed me several really bad studs on the drive tires.  They are not equipped to change out studs as all they do is tires, but he recommended a couple of places for me to call.  So 20 new studs on the drive tires are next on my list.  I don't know if this is something Barry and I want to tackle or not.  It's not rocket science, but these tires are HEAVY and very hard to handle.  Not sure my knees and back are up to the task.  We'll see.  Either way, they have to be done before our upcoming trip to North Florida for steering replacement.

I thought back to the last time the drive wheels were taken off and it was last summer when the bus was in the shop at S&S Truck Center in Lexington.  They took off the drives to replace a couple of radius rod bushings.  The didn't give me any notice at all about the bad studs... they just put them back on.  Only part of the reason I'll never go back there.  I don't understand people and businesses that do not take pride in their work and will just put anything out the door.  Only part of what is wrong with this country today.

Back to a positive note... all in all a good day.  This is the first road trip for the bus in a year and she did flawless.  I am so pleased.

Sunday, October 23, 2011

I am supposed to go next Tuesday afternoon to Bob Somerel Tire in Winchester, KY to have my new rear wheels and tires installed on the bus.  Today Barry and I were supposed to jack up the back of the bus and remove the dual on one side so I could get under there and inspect a few things.  I really need to check the differential fluid level and top off if necessary as I know it has a leaking seal.  I just don't know how much has leaked off and I need to check it before I get on I-64 to Winchester.


However, as Barry is known to do OFTEN, he did not show up.  We were supposed to do it last Sunday too, but he felt it more important to go to Court Days in Flemingsburg.  I do not want to do that job alone and I could use his muscle too to help, so I spent the afternoon cleaning up the inside more, removing the old carpet and padding, and then testing my air horns that I bought last summer.  


From the pictures you can see the carpet is all gone.  I tested the horns with my air compressor and jumped to the batteries, and they work.  They are even dual voltage.  At some point I'll need to install them but that will be a lot of work as I need to tie to the air system and the electric.  Currently I have no horn on the bus.

Sunday, October 16, 2011

Not the best picture but my attempt to show the two sun visors installed.  I still have one more to go on the passenger side windshield, however, it is the more problematic of the two.  I need to remove one of the brackets to hold the visor in order to install it and I so far cannot get any of the mounting screws out.

I lucked out in getting these three visors.  Charlie @ Bluegrass Tours gave them to me.  He had a MC9 that had been sold to a guy for scrap and so he removed them for me.  Only thing is, he did not get me any mounting hardware so I have had to make that up as I went.

Now if I can only get one of the remaining bracket removed I can install the last sun visor.
Today I finished doing more drivers panel wiring.  I repurposed two switches.  One for the GPS outlet installed below.  The second is to operate the door airlock.  The airlock securly clamps the door in the closed positon with a 'claw' while underway.  Since the p/o removed the original door closer and wiring I had to make up new wiring to operate the air over electric door lock.

Saturday, October 15, 2011

Parking Brake Valve Completed

Pictured here is the new parking brake valve commonly referred to as a 'push/pull valve'.  Shown also is the new fittings and DOT air lines.  You can only see two but three are involved.  The old copper lines made the task of removing and reinstalling the brake valve much more difficult than it needed to be.  The lines run down through the floor under the driver into the compartment below.  That area is more open to the weather and the lines were somewhat corroded and in bad shape.  Having all of this changed out makes for a better installation and this is one problem I should not have to revisit in the future.

Sunday, October 9, 2011

24 volt socket

A while back I purchased a GPS that is setup with maps and routing for a large truck as opposed to a car.  This will help with routing, bridge weight restrictions, under-passes, narrow streets, etc that would impact a larger vehicle.  The other nice feature about this particular GPS is that it is dual voltage 12/24 volt so I could use it in the bus or car if I had to.  The bus chassis is 24 volts so I could not use my car GPS even if I wanted to.

I purchased an auxiliary (cigarette lighter) socket online and yesterday I installed it.  I disconnected the indirect lighting circuit as all of those lights were long removed with the normal bus interior and this circuit has a switch and is fused at 20 amp with a circuit breaker.  I competed with wiring and tested it today with the GPS... all works perfectly.  I added a label above to show this is for 24 volts only to prevent anyone from attempting to use it for a 12 volt device like cell phone or laptop charger.  This really will be a single purpose socket.  It is also mounted at the drivers panel next to my left knee, so it will be out of the way of other people anyway.  So in the event that I EVER get the bus on the road, I'll have the help of my GPS and can plan routing, watch speed, and can keep up with mileage.  At this point the bus has a speedometer but I am not sure how accurate it is and it has NO odometer so without the GPS I have no way of tracking mileage.  Finally one step forward.

Air brake issues hanging like a dark cloud over me.


I have removed, inspected, and reinstalled the QR1 valve numerous times over the past several weeks.  Since I had not made an progress I saw no sense in making blog posts.  I am trying to figure out why I still have a slight air leakage out the exhaust port when the parking brake is applied.  I looked at other parts of the air brake system and found the parking brake (push-pull) valve leaking out the bottom so I ordered a new one from Luke @ U.S. Coach for about $115.  I feel that most of the parts I have had to replace on the bus, so far, have been fairly priced especially considering their size.  The one part that is priced like gold, however, is TIRES.  I'll get back to that topic though in another post to come later.

Yesterday I attempted to replace the parking brake valve shown in the picture to the right.  It has three air lines that were originally copper.  This valve fits in a small compartment to the right of the driver next to the transmission shifter and access is made more difficult by the fact that the driver's seat is right next to it.  I attempted to install it twice.  I never did have much success getting it lined up to fit in the bracket mostly because of the rigidity of the copper lines and also because the new valve threaded top is just slightly larger than the original one and doesn't fit in the hole in the mounting bracket.

So today I removed the three copper air lines completely, marked them as to location and purpose and this week I will go get some plastic DOT air line to replace them with.  This will be much more flexible and the reinstallation of the valve with the new air lines should be a piece of cake.  I drilled out the mounting hole just a bit and now the threaded top of the new valve fits in the bracket perfectly.

Before I removed the valve though, I started the bus and ran the air system through its paces to listen for other obvious air leaks and check the operation of the air dryer purge valve and the cut-in/cut-out pressures on the air governor.  I could hear a decent air leak from around the rear axle which makes me think further that I have one of more brake cans leaking in the rear.  My thought is that the slight air leakage I still have up front in the QR1 valve is possibly coming from the same rear brake cans.  It seems so much of the time I get one step forward and then take two back.  None of this will fix itself and I keep saying I should be thankful to find this stuff now at home base than in the future on the side of the road.